🚀 Getting Started
SkyrimNet is easy to set up and flexible to use, whether you're running it locally or leveraging cloud services.
📦 Installation
Download the latest release from:
👉 SkyrimNet Releases on GitHub
📥 Install the downloaded
.zipas a mod via your mod manager (e.g., MO2 or Vortex).
⚙️ Requirements
You must install all dependencies listed in:
🔗 System Requirements
- For CUDA users, make sure to install the CUDA Toolkit https://developer.nvidia.com/cuda-12-9-1-download-archive (⚠️ install version 12.xx not the recent 13.xx, or your dll wont start!!!) and restart your PC after installing — this is crucial.
- Check the Version-Specific Requirements section for compatibility if using Skyrim VR or an older version.
🗣️ Piper TTS Models (Optional)
Skip this if you’re not using Piper TTS.
SkyrimNet uses Piper as the default speech generation system, but models are downloaded separately.
🔗 Download Piper models from Google Drive
📦 Install them as a separate mod in your mod manager.
🧪 Setup
- Launch the game
- Open the SkyrimNet MCM
- Go to the Overview tab
- Click the Web UI link to open the in-game control panel
💡 The web UI includes a built-in tutorial to help you get started.
If you want to skip setup and test immediately:
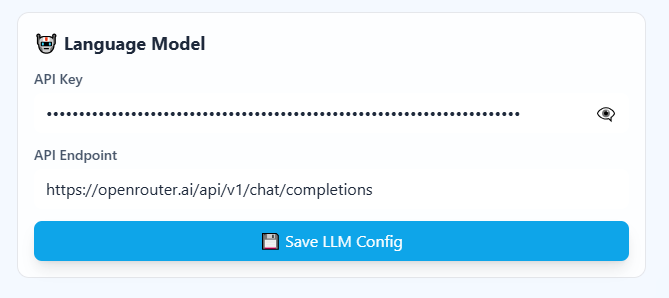
- Enter your OpenRouter API key in the Test & Easy Setup section.
keep the endpoint exactly like it is, all the llms are already preconfigured:
🔄 Updating
Follow any update instructions included with the release.
⚠️ Important: Custom prompt files outside of the
/characters/folder and the world settings file may be overwritten by updates.
To preserve your changes:
- Back up your
SkyrimNet/promptsfolder if you’ve made edits.
If no special instructions are provided:
- Just download the latest release and update the SkyrimNet mod in your mod manager, replacing the files.
🗣️ Additional TTS Options (Local Install)
SkyrimNet currently supports Piper, XTTS, and Zonos.
Piper:
Included with the mod (download models) and does not require cuda. This is the fastest option (near-instant) but has the lowest quality. Does not clone voices.
XTTS
Requires a simple manual setup. XTTS has a good balance of speed and quality. Does clone voices, provided the right version of xtts is used
- Download the latest release of XTTS from https://github.com/langfod/skyrimnet-tts/releases. Only this version and one other from Elbios support automatic voice cloning. Mantella XTTS and CHIM XTTS do not support automatic voice cloning - use this link instead.,
- Start XTTS whenever you will play the game with the Start.bat file in the unzipped folder.,
- In the SkyrimNet setup page, change the TTS Backend setting to XTTS, and change the TTS Server URL to http://localhost:7860 (or, if on a different PC, to that PC's ip address)., *Note that you can also use the Zonos TTS Backend setting with this version of XTTS; see the linked github page's release notes page for more details. Thanks to Dowser for creating this version of XTTS.
Zonos
Requires a more complicated manual setup. Zonos has high quality but is slow and gpu-intensive. Does clone voices. The following instructions are for a windows installation. You can also install Zonos on linux (or a WSL instance) by following the instructions on the official site: https://github.com/Zyphra/Zonos
- Download this zonos fork for windows from https://github.com/langfod/Zonos., Click the green Code button and select Download ZIP. Unzip the file somewhere.
- Requires python 3.12.10. Install it from here: https://www.python.org/ftp/python/3.12.10/python-3.12.10-amd64.exe, Also requires winget (comes with windows). If you see a message about it missing, try this: https://github.com/microsoft/winget-cli/discussions/1738#discussioncomment-1682664
- Run 1_Install.bat in the unzipped zonos folder. If you get a security warning, allow the app to run.,
- Start Zonos whenever you will play the game by running 2_Start_Zonos.bat,
- In the SkyrimNet setup page, change the TTS Backend setting to Zonos, and change the TTS Server URL to http://localhost:7860 (or, if on a different PC, to that PC's ip address).,